If quarantine is giving us one thing, it’s time to work on bike skills that we’ve otherwise ignored in favor of riding trails. Riders are taking to garages, driveways, and parking lots to work on one skill that is revered by cyclists of all disciplines: the wheelie. Some of us need a bit of help, though. Thankfully we’ve found an amazing teacher in Martha Gill of the Gowaan Gals. Follow along with the video and then read the tips and steps below to master the wheelie in no time.
Step 1: Picking Up Your Front Wheel
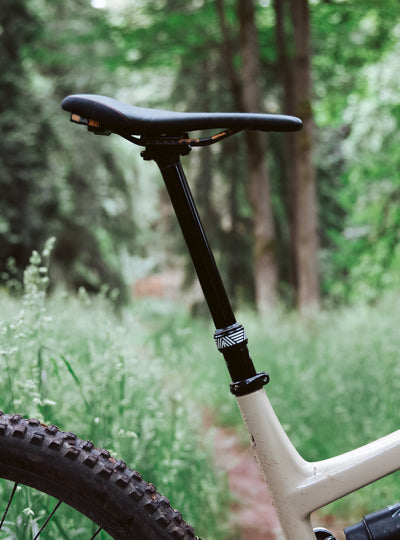
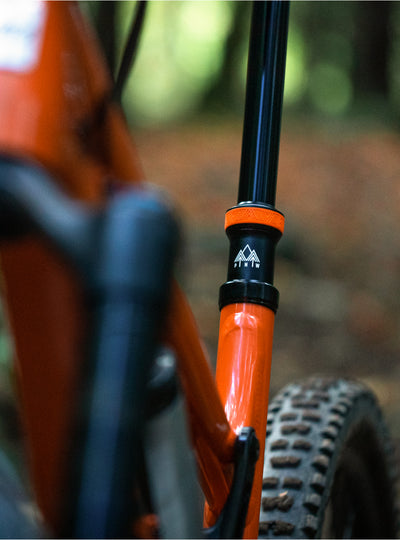
- If you’re learning on a dropper post, drop your saddle to about ¾ of its full extension.
- Sit on your saddle with proper posture (a relatively straight back with your chest out) allowing for a small bend at your elbows while holding your handlebars
- Push down on the pedal with your front leg and lean back at the same time, giving a slight pull with your arms.
Tips
- If you’re struggling to get your front wheel off the ground, try using a different gear. Experiment with your gear until you find one that is comfortable for your leg strength.
- Change your dropper post height. Don’t use the same height over and over if you are unsuccessful in getting your front wheel off the ground.
- Start in a centered position over the bike’s top tube to counteract sideways leaning caused by force coming from one side of the bike.
- Make sure you are pulling equally with both arms. Pulling harder with one arm will automatically make you lean in the opposite direction.
Common Mistakes
- Believing that getting the front wheel off the ground is a result of pulling hard with your arms
- This is not a “one-size-fits-all” process. What works for us may not work for you. Experiment with your gears, dropper height, dominant leg, and posture until you find what works best for you.
Step 2: Finding Your Balance Point and Holding It
- To find how far you can lean back, try bailing off the back of your bike first (see gif below for example).
- Lift your front wheel as high off the ground as possible as if you’re trying to wheelie, then remove your feet from the pedals as your bike loops out from underneath you and place them on the ground behind your rear wheel.
- Repeat this process until you recognize just how far back you can lean without needing to remove your feet.
- Once you recognize how far back you can lean, try lightly squeezing your back brake to bring your front wheel back down towards the ground. If you squeeze your back brake all the way you will automatically lose control of your wheelie.
- When you get into your proper wheelie position, continue pedaling so you can wheelie further and further.
Tips
- Lean back further than you think. If you have to pedal like crazy to keep your front wheel off the ground it’s probably because you can be leaning back even further.
- Try to keep your arms fairly straight. If they are too bent it means that you’re leaning too far forward.
- If you’re afraid of “looping out”/bailing on cement, try doing it in a grass field.
- Remember that this process is all based on trial and error and you won’t find your balancing point immediately.
- If you’re struggling to feather your brake, try lightly squeezing it over and over while slowly riding your bike. Squeeze it just enough so your brake pads contact your rotors, but not enough that you come to a stop.
Common Mistakes
- Starting from a stopped position can make you stiff and slow to react. Try starting your wheelie while rolling slowly.
- Keep those handlebars away from your chest. Don’t forget that you have lots of room to lean back.

Step 3: Counteracting Sideways Movement
- Start your wheelie in a position that has your body centered in the saddle and over the top tube.
- Bow your legs and work on bringing one leg towards your top tube at a time. If you’re leaning to the left, move your right knee away from your bike. If you’re leaning to the right, move your left knee away from your bike.
- Turn your front wheel towards the knee that you are using as a counterbalance.
- Shift your weight at your hips to change the location of your center of gravity. This motion mimics a heel touch and actuates your obliques.
Tips
- Look ahead at something in the distance so you are reacting to what you’re feeling instead of what you’re seeing.
- Relax your body. Try not to squeeze all of your muscles at once and overthink the motion.
- Find a flat street, parking lot, or field that is not crowned in one direction or another.
Common Mistakes
- Trying to combine all of the above steps at once. If you’ve read this far, make sure you take your time and learn everything sequentially. No one will be a master of the wheelie on their first go.
Step 4: Practice, Practice, Practice
All that’s left to do now is to practice, practice, practice. If it seems like you’re not making progress after hours of attempts, try starting at square one and working on the little things like centering your weight over the top tube or looking into the distance instead of at your front wheel. Small changes can make huge differences.
PNW Learns to Wheelie
If we can do it, so can you. Follow along with our Content Manager, Reilly, as he uses Martha's step by step guide to improve his wheelie game over seven days.
As always, if you have any questions regarding our products or learning how to wheelie, feel free to reach out to us at info@pnwcomponents.com and we'll get back to you as soon as possible.


