Please Watch Video Below for Instructions on How to Swap a Dropper Post Actuator
Tools:
- 2mm allen wrench
- adjustable wrench
- replacement actuator
Instructions:
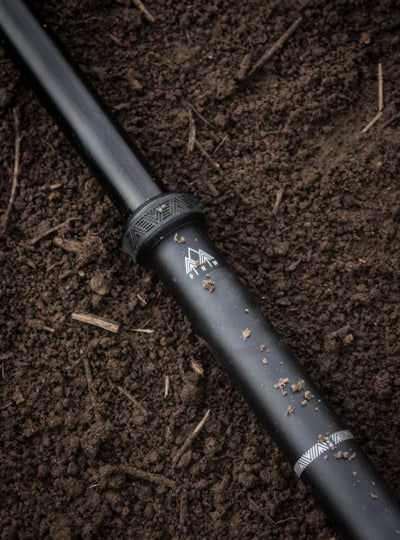
- Use the adjustable wrench to unthread the old actuator from the dropper post body by rotating it in a counter-clockwise direction
- Unthread the actuator by hand and pull the lower tube towards the dropper's head away from the actuator, exposing the foam bumper
- Use a 2mm allen wrench and unthread the bolts located in the threads of the actuator and pull them all the way out. Set them safely aside YOU WILL NEED THESE LATER
- Remove the actuator from the cartridge shaft
- Remove the rubber bottom out bumper from the actuator. Set this aside YOU WILL NEED THIS LATER
- Grab the new actuator
- Place the bottom out bumper on the new actuator
- Slide new actuator onto the bottom of the cartridge
- Align the bolt holes on the actuator with the machined channels on the lower cartridge shaft
- Slide the bolts into the holes in the actuators threads using a 2mm allen wrench. Do not over tighten as they will come out the other end and not allow the actuator to be reinstalled.
- With the actuator attached the the cartridge shaft slide the lower tube towards the dropper post body.
- Thread it into place by hand by rotating the lower assembly in a clockwise direction.
- Once hand tightened use the adjustable wrench to tighten firmly. No need to over tighten
- Test your dropper post before installing it on the bike.
If you have any questions on the installation please reach out to our email at info@pnwcomponents.com


