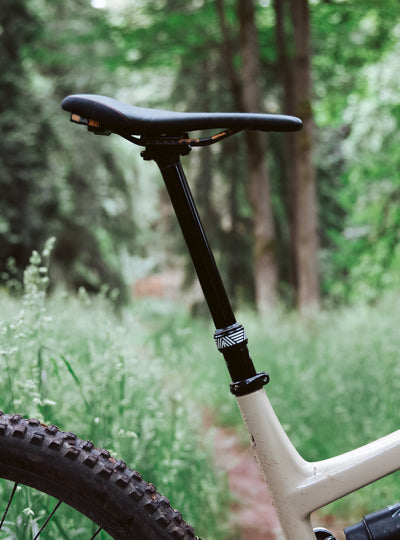
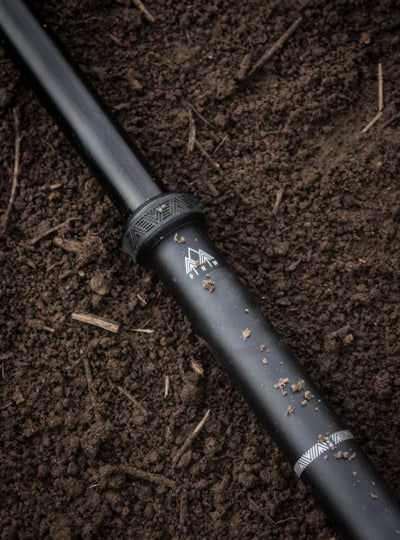
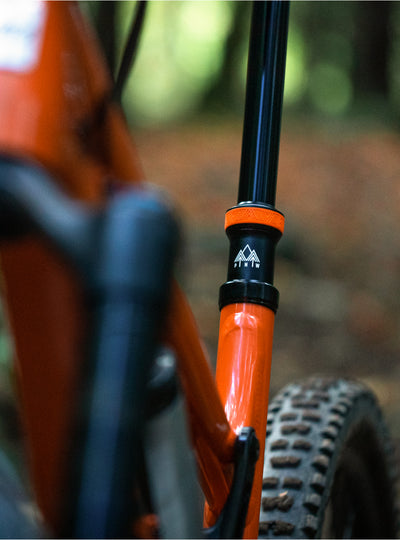
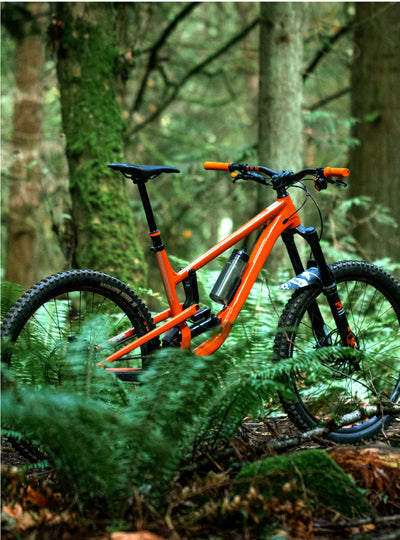
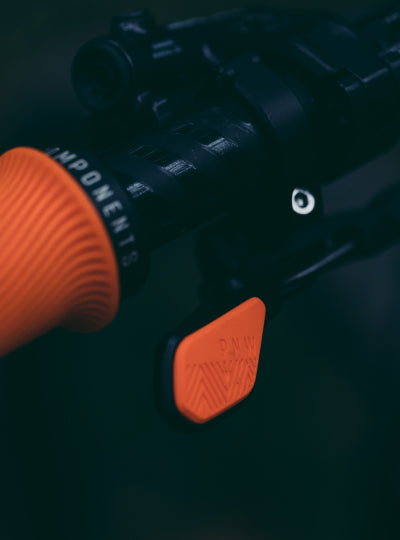
We made this post to honor your most adventurous days on the trail. From the quadzilla climbs to the serpentine descents, the Loam Dropper capitalizes on PNW’s best-in-class reliability in our shortest, lightest and most customizable package yet. The new Loam also features swappable silicone bands that hug the midcap, giving you the opportunity to match your bike (or mood).
THE LOAM POST
Upgraded Travel Plans
By shortening the overall post and adding 25mm of Tool-Less Travel Adjust we’ve guaranteed you more drop across a wider variety of frame designs, sizes and body types. This means more distraction free descents with less awkward high fives from your saddle when the trail gets rowdy.
Under Pressure
Slow and controlled or swift and poppy? Dial in your dropper’s return rate with personalized pressure, courtesy of the Loam Post’s adjustable air cartridge.
Lifetime Warranty
We've always got
your back
Fast Shipping Options
Get your parts for the
weekend ride
Unparalleled Service
Seriously, we're here
for you
Pacific NW Approved
All Season reliability, tested in the mountains
make it yours
The Loam Post features a machined channel on the mid-cap that's home to a swappable silicone band. Each post comes with our standard Blackout Black band but we offer our full range of colors to match your bike, PNW cockpit or personal chakra aura.
How Does Travel Adjust work?
Our travel adjust system allows for a total of 25mm travel reduction in 5mm increments. If you were riding that line between travel sizes you can now fine-tune the perfect fit by following the easy directions below:
- Begin by lowering your dropper at or below the desired travel length (just make sure it’s not fully extended!)
- Unthread the midcap with your hand and slide it up to reveal the white DU Bushing.
- You’ll see negative numbers with corresponding notches machined into the post (each # represents decreasing travel.
- Slide the DU bushing up and rotate it to align the black arrow with the amount of travel you would like to reduce, then seat the arrow into the machined groove. (Make sure it’s fit securely into these notches!)
- After pushing the DU Bushing back down, lower the midcap and hand tighten (no need to go overboard!) and ride off into the sunset with the perfect travel for you.
How Does Travel Adjust work?
Our travel adjust system allows for a total of 30mm travel reduction in 5mm increments. If you were riding that line between travel sizes you can now fine-tune the perfect fit by following the easy directions below:
- Begin by lowering your dropper at or below the desired travel length (just make sure it’s not fully extended!)
- Unthread the midcap with your hand and slide it up to reveal the white DU Bushing.
- You’ll see negative numbers with corresponding notches machined into the post (each # represents decreasing travel.
- Slide the DU bushing up and rotate it to align the black arrow with the amount of travel you would like to reduce, then seat the arrow into the machined groove. (Make sure it’s fit securely into these notches!)
- After pushing the DU Bushing back down, lower the midcap and hand tighten (no need to go overboard!) and ride off into the sunset with the perfect travel for you.
Specs: LOAM POST
Measurements
A
Travel
B
Total Length
C
Seat Collar to Center of Rails
D
Full Insertion Length
E
Min. Insertion Length
125
385
170
215
90
150
440
200
240
90
170
480
220
260
120
200
540
250
290
145
Cartridge style
Adjustable Air Cartridge
Routing Method
Internal
Diameters
30.9mm, 31.6mm, 34.9mm
Travel
125mm, 150mm, 170mm, 200mm
weight
| 125mm | 150mm | 170mm | 200mm | |
|
30.9 |
456g |
504g |
532g |
576g |
|
31.6 |
474g |
524g |
554g |
598g |
|
34.9 |
576g |
638g |
674g |
734g |
Seatpost Material
7075 Alloy
Lever Compatibility
Compatible with all PNW levers and most cable actuated levers from other brands.
Cable and housing
Cable and housing included only with the purchase of a lever kit
Manuals
Droppers
Loam
service program
Like most of us, PNW dropper posts need a little TLC to work their best. This service can be done at home, but if you're not feeling that grease stain life, we can take care of it for you. Our service program treats your PNW dropper post for regular wear and tear. Learn More >>>
FAQ
What’s the difference between the Rainier Gen 3 and the Loam?
There are a few differences between the Rainier Gen 3 Dropper post and the Loam Dropper Post. The Loam Post has a shorter actuator and more machining on the stanchion both of which work to create a shorter overall post. This allows for more travel in a larger variety of bike frames. Another difference is the cartridge. With the Rainier, you get a sealed “set-it-and-forget-it” cartridge. The Loam has the advantage of an adjustable air cartridge, where you can customize your return rate.
Is this post compatible with my bike?
Start by checking if your bike is externally or internally routed. The Loam is only compatible for internally routed frames. Second check the seat tube diameter. Want help finding the right dropper for your bike? Click here >>>
What is the tool less travel adjust system?
This system allows you the maximum drop for your post size. We accomplish this through a notched bushing under the midcap collar so you can dial in a more tailored fit.
How often do I need to service the post?
As riding frequency and conditions vary, we do not have a strict service interval. Instead, we recommend servicing your post if it starts to feel sticky/slows down. When it does come down to service it is a quick and easy, at home process. Check out our service video here
How do I set up the adjustable air cartridge?
These shiny new dropper features an adjustable alloy cartridge that requires a high pressure shock pump to setup. They come under inflated during shipping to preserve the cartridge. To adjust the pressure do the following:
1. Before installing your saddle remove the clamp assembly and hardware.
2. Remove the rubber grommet covering the valve.
3. Manually actuate the post so it is in the fully extended position.
4. Thread the shock pump on the valve and inflate to 270-300psi for optimal performance.
5. Remove the pump and you are now ready to complete the instalI.
Warranty
PNW Lifetime Warranty
Do we have your back? Of course. If anything goes wrong, we're here to do everything we can to ensure you're taken care of.
Reviews
It seems that no matter what you’re looking for in a mountain bike dropper post, the new Loam post has you covered.
Zach Overholt, BikeRumor.com
I would highly recommend the Loam to anyone looking for a versatile, minimal-fuss post.
Daniel Sapp, Pinkbike.com
It’s not every day that a brand improves an already excellent product, and drops the price at the same time.
Jeff Barber, Singletracks.com


